
How to Install VestaCP on Digitalocean VPS with Ubuntu
In today tutorial we are going to see about How to Install VestaCP on Digitalocean VPS with Ubuntu OS.
VestaCP is the Free and user-Friendly Control Panel Which having the Feature’s like
- DNS Management
- Backup
- Corn Jobs
- Domain Managements
- Logs
- Firewall
- Free LetsEncrypt SSL
- PHPMyAdmin
- And More
Also, it will help Event Bloggers and Niche Bloggers to Manage their website in Single Digitalocean Droplet.
Here the Guide to Install VestaCP on Digitalocean VPS with Ubuntu
Server Requirments
- Digitalocean Droplet With Ubuntu OS – 64bit (Versions – 14.04.5 and 16.10 is best)
- SSH terminal for managing your DO Droplet (For windows Try Putty Terminal)
Steps to Install Install VestaCP on Digitalocean VPS with Ubuntu
- First Create a Fresh Droplet on Digitalocean VPS with Ubuntu OS
- After creating your Droplet, you will receive the Email From Digitalocean you can get user login Credits for your Droplet
- Now open your Droplet on SSH Terminal (Windows users Use PUTTY)
- Login to Droplet from SSH Terminal (For First, time It ask to Update your Password)
- After all Set up open http://vestacp.com/install/ Scroll down the Page you can Find the ADVANCED INSTALL SETTINGS
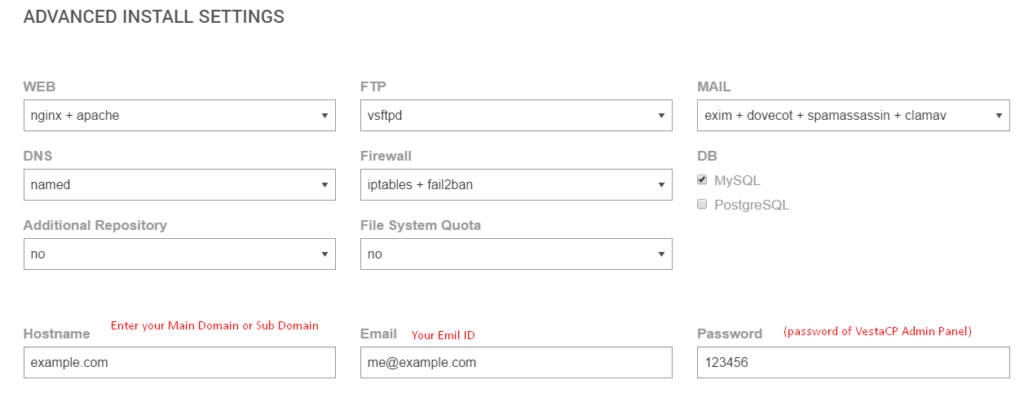
- Configure your VESTACP (Choose as per your Requirments)
- Click Generate Install Command Button to Get your Command Line Codes for VestaCP Installation on Digitalocean VPS
- Now run Command line to Download installation script
curl -O http://vestacp.com/pub/vst-install.sh
- After running, that Command line.Copy and paste the Command line on SSH Terminal that you Generate from official VestaCP page

bash vst-install.sh --nginx yes --apache yes --phpfpm no --named yes --remi no --vsftpd yes --proftpd no --iptables yes --fail2ban yes --quota no --exim yes --dovecot yes --spamassassin yes --clamav yes --mysql yes --postgresql no --hostname example.com --email [email protected] --password 123456
- Run that Command line on SSH terminal to Complete the VESTA Control Panel Installation
- After Running that Command line, you will Get this output
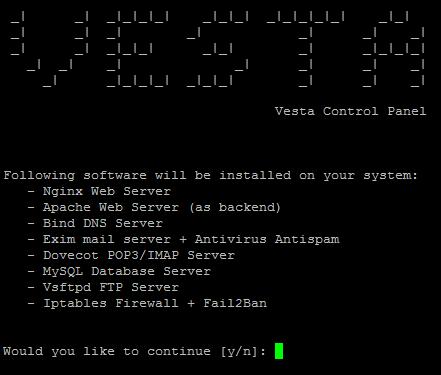
- Click Y to Continue the Installation
- it takes Nearly 5 to 10 mins to Complete the Full Installation and Setup
- Here is the Final Output and you can get your VestaCP Credits on SSH and Email that you give while generating Command lines
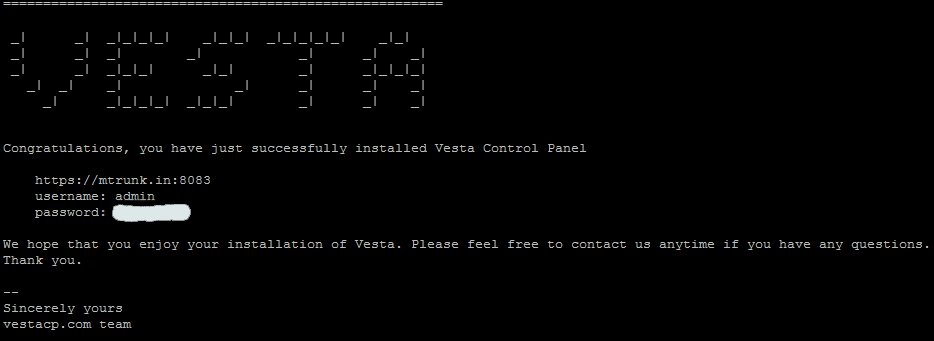
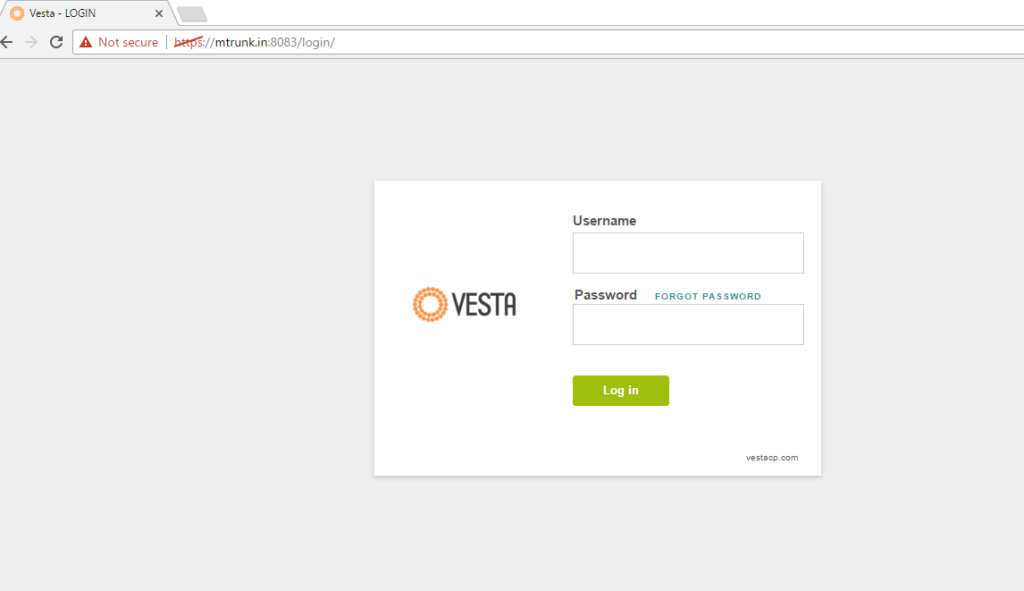
- Open your VESTA Control Panel by this Using Formats
https://example.com:8083
https://panel.example.com:8083 //if you using your subdomain as Hostname

https://your-ip-address:8083
- That’s all Successful we Installed VestaCP on DigialOcean.Now you can Easily Manage your Websites/Blogs on DigitalOcean with Vesta Control Panel
How to Create a Custom Vanity Nameserver for VestaCP?
If you want to manage all Records on VestaCP DNS Manager, then We need to Create a Custom Nameservers or If you want to Manage your Records from your Domain provider DNS manager the add the A record(IP Pointing) is Enough.
Here is the Video that helps your to create a Custom Nameserver for vestaCP – How to point DNS Nameserver into VestaCP
Official Guide – Setup Custom Nameservers and Private Nameservers on Vesta Control Panel
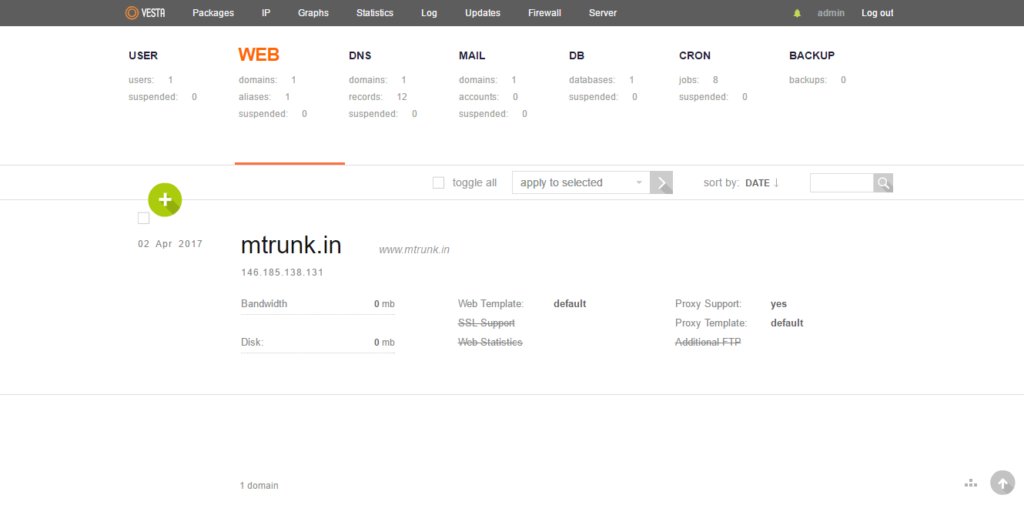
How to Add a New Domain on VESTACP?
- Go to The Web
- Click the Gree icon
- you will be redirected to Add New Domain page
- Enter your Domain name and Click Save Button
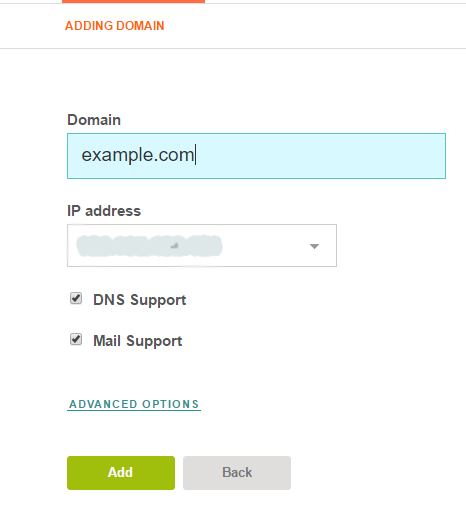
- That’s all Successfully added the New Domain on Vesta Control Panel
How to Enable a Free SSL in VESTACP?
VESTAVP provide a Free Let’s encrypt SSL we can easily Install the SSL for our website/blog Domains from VestaCP.
- Go to The Web
- Choose a domain
- Click edit
- you can Find the SSL Support checkbox
- Click the Checkbox it shown two options one for Custom SSL and another one for LetsEncrypt SSL
- Choose LetsEncrypt SSL & SSL Home choose Public_html
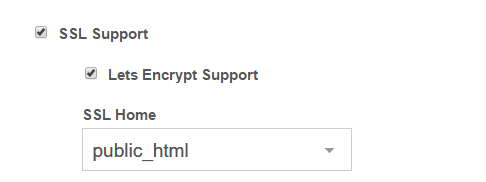
- Click Save to Install the SSL It take 2 to 3 Minutes
- After Installation open you website HTTPS, it will open Secure Green Lock icon 🙂
- That’s all Successfully we Install the Free LetsEncrypt SSL for Domain from VestaCP
How to Open PHPMYADMIN in Vesta Control Panel?
https://example.com/phpmyadmin
Use this below Command line to Get your PHPMYADMIN User and pass
nano /usr/local/vesta/conf/mysql.conf
Premium Products
VestaCP Having Premium Plugins like
- File Manager
- SFTP Root
File Manager – Which Help use to Edit, View, Update and Add Files
SFTP Root – Which help us to Restrict the SSH Access (Users Having Permission to access their Home Directory Only in FTP and SFTP)
From the Editors Desk
Hope to This Tutorial will help you to Install the Vesta Control on Digitalocean VPS Server.
If you Have Any Doubts in this Topic Drop your Comments Here I Will Guide you.
How to Digitalocean Guides?
- Install WordPress on Digitalocean
- Install Ghost Blog CMS on Digitalocean
- How to Fix Site not Working in WWW prefixed URL in Digitalocean
- How to Rebuild the Digitalocean Droplet
How to Install VestaCP on Digitalocean VPS
- Features
- Support
- User Friendly
- Free SSL
Summary
Here’s the Step by Step Guide to Install VestaCP on Digitalocean.Manage your Blogs/Websites from Single Control Panel With Free SSL, Nginx, and More.
Your feedback helps us improve Allwebtuts.com

![[Fixed] DigitalOcean Site not working with www prefixed URL](https://www.allwebtuts.com/wp-content/uploads/2016/07/awts-dwu4-211x150.jpg "[Fixed] DigitalOcean Site not working with www prefixed URL")
![[Beginners Guide] How to create Droplet in Digitalocean](https://www.allwebtuts.com/wp-content/uploads/2016/08/awts-doc6-211x150.jpg "[Beginners Guide] How to create Droplet in Digitalocean")