
How to Add a Custom domain in Vultr Cloud VPS server
Beginners Guide How to Add a Custom domain in Vultr
Vultr is a Cloud VPS server Similar to Digitalocean Both having a same feature’s we will the post the compression of Vultr and Digital ocean in Our Future post.
In this Tutorial, we are Going to see about How to Add a Custom domain in Vultr Cloud VPS server.
Cloud VPS servers Have Dedicated IP.we need a Custom domain for Dedicated IP here is the reasons why we need a custom domain for dedicated IP Explanation by Vultr – Check here
How to Add Custom Domain on Vultr Cloud VPS?
Just follow our Below steps to Set up your domains with Vultr DNS!
- Log in to your My Vultr Dashboard
- After log into your dashboard, It showing the list of server’s you Installed
- you can find the DNS menu in the Servers dashboard
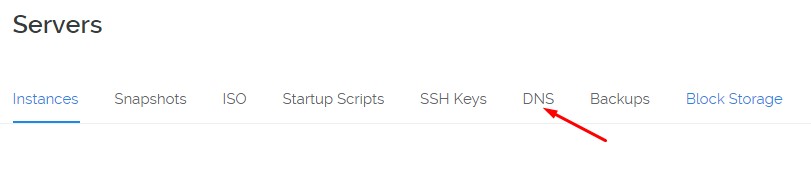
- Now open DNS section
- Now you can find the Add domain button on that page
- Just Click add button
- Just enter your Domain name and your Cloud server’s IP address (you can find your IP in servers section)
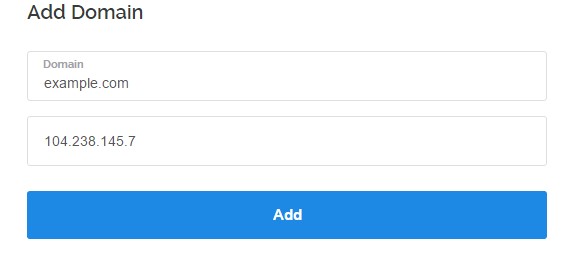
- After providing your all details Just click Add
- That’s all successfully your domain was added to the Vultr VPS server
- After that login to your domain managing panel and enter the Vultr nameserver details
ns1.vultr.com

ns2.vultr.com
- That’s all 🙂
From the Editor’s Desk
If you are using Subdomain Just point your Server IP Address in A record on your Domain DNS Manager
For Example, My Subdomain is blog.example.com

If you Have any doubts in this Topic Please Feel Free to Comment here I will Guide you.
Digitalocean Guide
How to Fix Site not working with www prefixed URL in Digitalocean
Your feedback helps us improve Allwebtuts.com


